Cisco Catalyst Center vs. the Meraki Dashboard
DNA Center has been rebranded to Catalyst Center In today’s fast-paced networking world, managing complex systems is no longer just about using the...

Interested in adding Catalyst switches to the Meraki Dashboard?
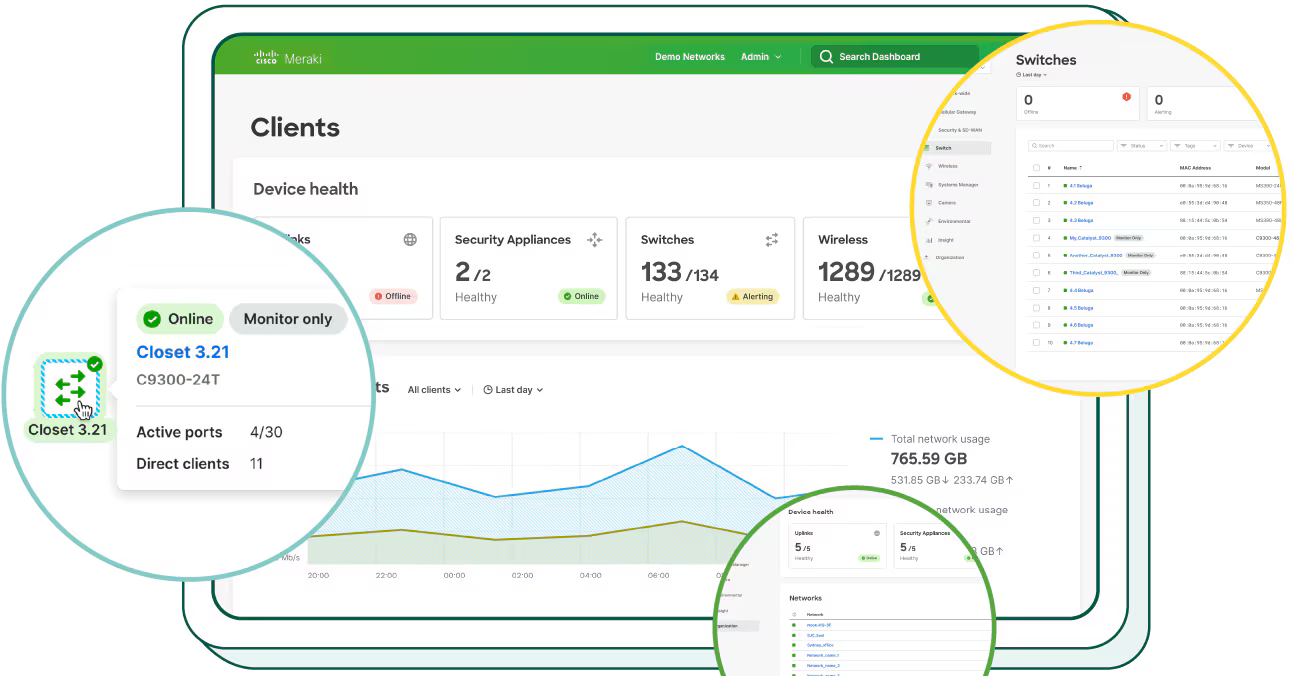
Good news! All C9200L, C9200, C9300L, C9300, C9350, and C9500 can now be managed in your Meraki dashboard!
The Meraki platform as a whole is inferior to Catalyst, including performance, flexibility, scalability, and compatibility. If you're a Meraki user, you know stacking Meraki is different than stacking Catalyst. If you want to add Multi-gig ports to your stack of MS225s, you can't! You'd have to add a different platform like the MS355, which is 2x the cost of a data-only MS225. StackPower isn't an option until the MS390. The physical stack throughput maxed at 100G until the MS390, and the components used in the MS390 are the same as C9300. There are other quirks, such as QSFP28 ports for the Meraki switches NOT supporting 40G, when every other QSFP28 port in Catalyst is 40/100G.
Speaking of Multi-Gig ports, as of 2024, there isn't a commercial access point that doesn't have at least a 2.5G network interface. Any newly purchased access point plugged into a non multi-gig switch is a bottleneck. 2.5G, 5G, and 10G network interfaces are now the norm for access points. Read more here: New mGig more of a “meh” gig?
Another quick aside.. if you want these APs to function without restrictions, UPoE is now the minimum standard. Read more here: Do You Need UPoE?
Interested in marrying C9300s and Meraki management? Lets do it!
C9200L, C9300, C9300L, C9300X, and C9350 can be migrated to Meraki. This includes stand-alone switches and stacks. IOS-XE will be replaced with a new software image provided by the Meraki cloud and local console access / CLI will no longer be available.
During the migration process, the switches flash, configuration, USB-flash, and all storage will be formatted.
The following models can now be managed via Meraki:
| Family | Models | Minimum Version Required |
| C9200L | C9200L-24T-4X , C9200L-24P-4X, C9200L-48T-4X , C9200L-48P-4X , C9200L-48PL-4X , C9200L-24PXG-4X , C9200L-48PXG-4X , C9200L-24PXG-2Y , C9200L-48PXG-2Y , C9200L-24T-4G , C9200L-24P-4G , C9200L-48T-4G , C9200L-48P-4G , C9200L-48 PL-4G | 17.5+ |
| C9200 | C9200-24T, C9200-24P, C9200-24PB, C9200-24PXG, C9200-48T, C9200-48P, C9200-48PL, C9200-48PB, C9200-48PXG | 17.18+ |
| C9200CX | C9200CX-12T-2X2G, C9200CX-12P-2X2G, C9200CX-8P-2X2G, C9200CX-8UXG-2X, C9200CX-12P-2XGH, C9200CX-8P-2XGH, C9200CX-8UXG-2XH | 17.18+ |
| C9300-M | C9300-24T-M, C9300-24P-M, C9300-24U-M , C9300-24UX-M , C9300-48T-M , C9300-48P-M , C9300-48U-M , C9300-48UXM-M , C9300-48UN-M , C9300-24S-M, C9300-48S-M , C9300X-12Y-M, C9300X-24Y-M, C9300X-48HXN-M, C9300X-24HX-M, C9300X-48HX-M, C9300X-48TX-M, C9300L-24P-4X-M, C9300L-24T-4X-M, C9300L-24UXG-4X-M, C9300L-48P-4X-M, C9300L-48PF-4X-M, C9300L-48T-4X-M, C9300L-48UXG-4X-M | 17.5+ |
| Other C9300 | C9300-24UB, C9300-24UXB, C9300-48UB, C9300-24H, C9300-48H, C9300L-24T-4G, C9300L-48T-4G, C9300L-24P-4G, C9300L-48P-4G, C9300L-48PF-4G, C9300L-24UXG-2Q, C9300L-48UXG-2Q, C9300LM-48UX-4Y, C9300LM-48U-4Y, C9300LM-24U-4Y, C9300LM-48T-4Y | 17.18+ |
| C9500H | C9500-48Y4C, C9500-24Y4C, C9500-32C, C9500-32QC | 17.18+ |
The following network modules are also supported. If a switch has any other network module than the ones listed below, migration will fail.
Software updates will work just like Meraki cloud works today, although Cisco is officially calling them "Firmware Upgrades." We can easily see all firmware versions as well as schedule "Firmware Upgrades" on a per-network or per-device-type basis. More about that process here: Managing Firmware Upgrades
Beginning with CS15+, Network Based Application Recognition (NBAR and NBAR2) Netflow v10 (IPFIX) for IPv4 and IPv6 traffic, as well as Encrypted Traffic Analysis (ETA) is supported on both Meraki managed C9300 and MS390 switches. MS NetFlow and Encrypted Traffic Analytics
Again, migration WILL NOT be successful if an incompatible network module is present.
To migrate, the C9300s must be running at least IOS-XE 17.10.x in INSTALL mode. Please check the release notes for your version to convert from BUNDLE mode. INSTALL mode is loaded via 'packages.conf' where BUNDLE mode is loaded via 'longpackagefilename.bin'. C9300X require a certain image - IOS-XE 17.09.03m2.SPA.bin.
And without further ado, please follow these steps to move your Catalyst 9300 from IOS-XE to the Meraki cloud.


*Front facing ports only. The management port Gig0/0 on the back of the switch will not work.
*SVIs only, no routed port support
If you can ping dashboard.meraki.com, you're good to go!


Switch#sho meraki connect
Service meraki connect: enable
Meraki Tunnel Config
------------------------------------
Fetch State: Config fetch succeeded
Fetch Fail:
Last Fetch(UTC): 2025-12-09 22:27:07
Next Fetch(UTC): 2025-12-09 23:44:39
Config Server: cs1-2037.meraki.com
Primary: usw.nt.meraki.com
Secondary: use.nt.meraki.com
Client IPv6 Addr: FD0A:9B09:1F7:1:569F:C6FF:FEBA:F600
Network Name: meraki admin network - wireless
And that’s it!
Hop into your Meraki dashboard:
3. Organization > Inventory, then "claim"
4. Add the switch to a network.
After the device has been added to a network, conversion to Meraki cloud operating mode will begin. This initiates a factory reset on the switch and restricts console to read-only. The switch may take up to 15 minutes to reset. DO NOT power cycle the switch(es).
To convert your switch back to a non-Meraki managed switch, please contact Meraki support.
Subscribe to our Monthly Newsletter.
✅ Expert IT tips you can actually use
✅ Cost-saving solutions that boost ROI
✅ Straightforward insights — just value
All straight to your inbox.
No spam. No sales pitches. Just better networks.

DNA Center has been rebranded to Catalyst Center In today’s fast-paced networking world, managing complex systems is no longer just about using the...
.png)
Cisco has been making significant changes to its Digital Network Architecture (DNA) offerings, particularly with the rebranding of DNA Center to...

Did you know that access points can behave differently depending on how much power they are receiving? The addition of a new device drawing the...